A Complete Tutorial for New Outlook Profile
MS Outlook is one of the common email clients that is capable to manage complete information of the user. A systematic management of the database is done by Outlook. Here is a complete guide to configure the profile of Outlook 2010.
Note:Make sure the internet and client server are running properly.
Step 1:Open the mail with the help of control panel.
Press Windows Key,then search for Control Panel.
And then type Mail and click on the result.
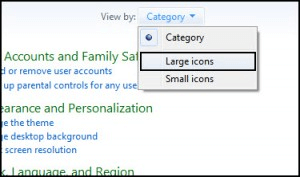
Note:if you user of Windows 7,the view option is required to be set from Category,set it to large icons to properly view Mail option.

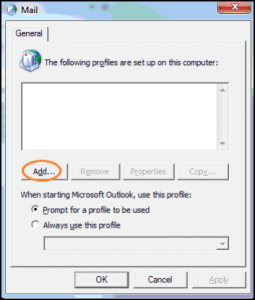
Add a New Profile
In the Mail Setup dialog box,press Show Profiles. Subsequently,press the Add button to initialize a fresh configuration.
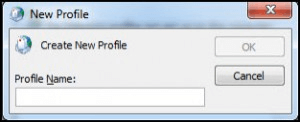
Now provide the name that you wish for your Outlook Profile and click "OK"
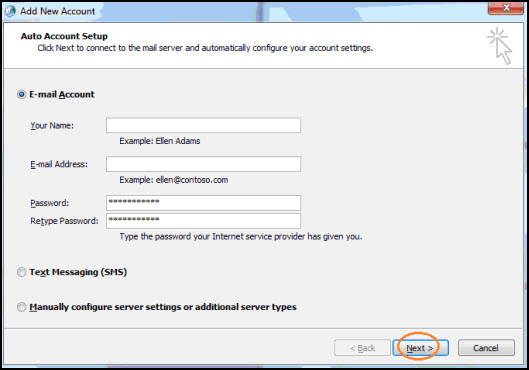
Enter Your Account Credentials
The Auto Account Setup wizard will appear,then choose the E-mail Account option and fill in your details.
After that click Next
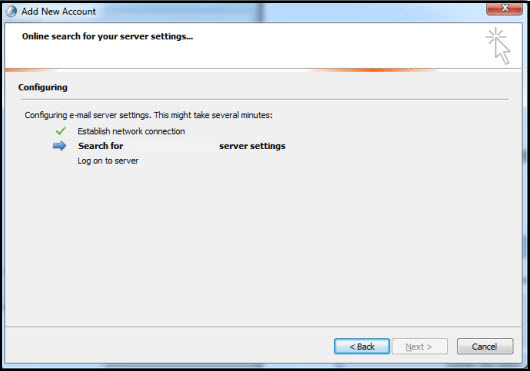
Now wait for a while till the Ms Office Outlook 2010 finishes the configuration process
As the process is successfully completed,you will get the following screen,finally click on "Finish" tab.
Now your profile is all set to use for sending and receiving mails
Conclusion
Creating a new Outlook profile is an troubleshooting step to fix synchronization glitches,corrupt data files,and performance lag.
It is so easy to setup your Outlook profile. Just follow the given steps. You don't need to take help from any technician for this.
After your profile is ready on a new PC,see Move Outlook Profile to New Computer | 2022 Guidefor registry export,PST import/export,and automated migration methods.