Easily Convert MBOX Data to Outlook with This Detailed Guide
When it comes to converting MBOX file data to Outlook format. Only a few methods are present to convert or migrate data. If you have switched from MBOX file supporting email client to Outlook,and want to convert file format! Here we give you the complete guide on how to convert data. These are one of the easiest methods to do the conversion.
The reason users switch from MBOX supporting mail clients like Thunderbird,Eudora,etc. to Outlook is MBOX is not as secure a platform as Outlook. The MBOX is a common mail storage file. Its data could be accessed on a range of email applications (20 Plus). Because of this,it is not considered a safe email client for business purposes.
On the other hand,Outlook is an email client that has all upgrade features. It is an application of Microsoft. So,you can understand its safety features. The email application offers safe data storage along with better data management.
The file format that MS Outlook is compatible with is a personal storage table (PST). It is one of the most secure formats for saving the file. All these and many other user-friendly and security features of Outlook make it one of the best email clients. And this makes users to switch from MBOX supporting email clients to the Outlook platform.
Let's have a look at how to convert MBOX file data to Outlook Format
The Manual Method- The manual method will allow you to convert data without taking the help of software. Both email clients have certain features that let you convert the data. We are educating you about the same method.
At first import MBOX data to Gmail Account
To import MBOX file to Gmail account,you need to follow these steps.
- Create a Gmail account if don't have one already. And login to your account.
- Open Gmail setting page,clicking on the gear icon present at the right top of the page.
- Click on the option "Forwarding and POP/IMAP option"
- Choose to enable the IMAP option.
- Follow the step by step guide to configure the IMAP account and then click on the save button to save changes.
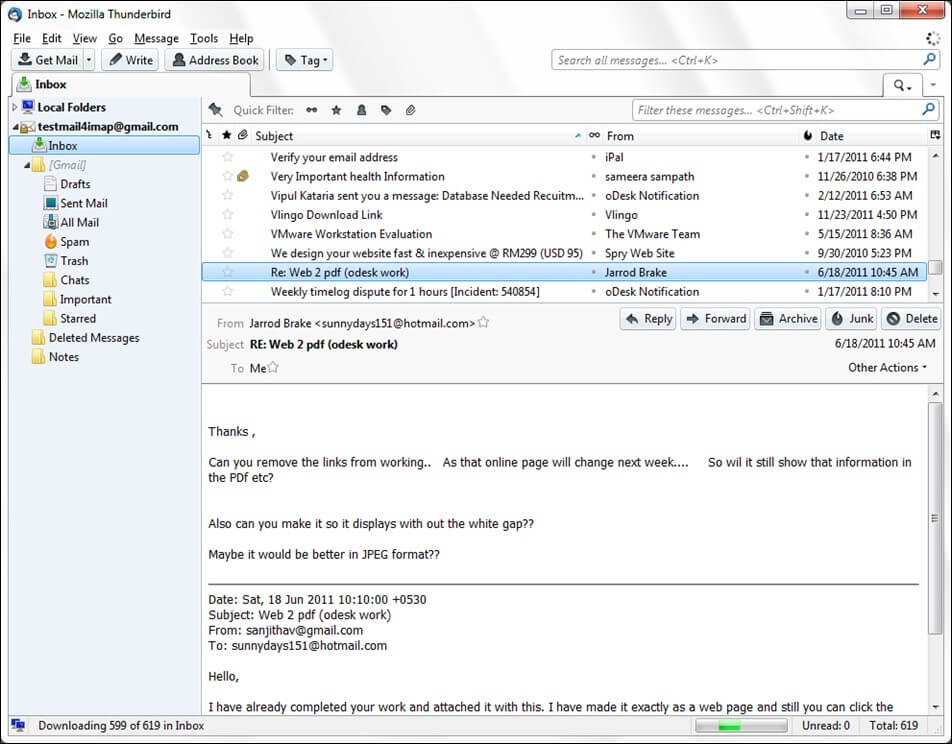
- Once you have finished the entire setting change. Launch Thunderbird email application on your device.
It is time to make changes in the setting page of Thunderbird Mail account
- A box will pop up asking for the email account setup. Enter your name,email address and then the password.
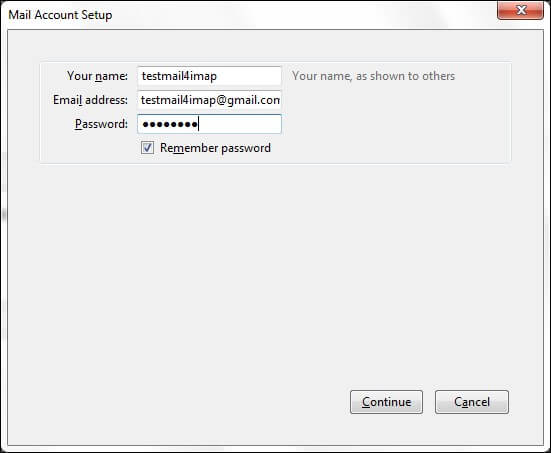
- Click on the continue button to land on the next page.
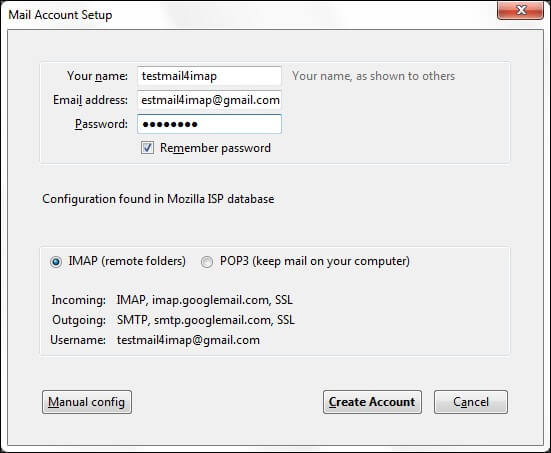
- Tap on IMAP (Remote folder) followed by manual configuration,and then click on the option Done.
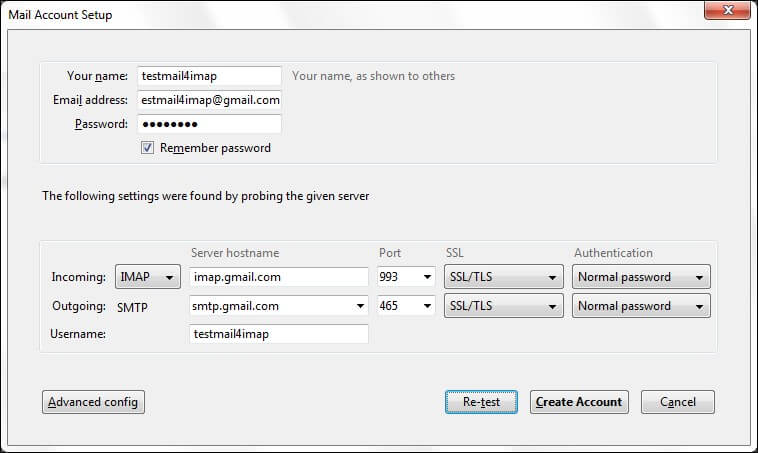
- A new window will open asking to fill a few details. Enter the same. For incoming:imap.gmail.com/ port:Either 993(SSL) or 143(very infrequently 580)
- Outgoing:smtp.gmail.com/ port:Either 25(SSL) or 465(very infrequently 2525)
- After entering all the details,click on 'Reset Button'

- After entering all the information correctly,the task will end. Click on 'Get a new account' after that.
- You will receive a verification email in Thunderbird account from Gmail. Click on the account to verify the account.
- After that,drag MBOX file and drop it in the Gmail account. Then follow steps to import MBOX file to Outlook.
Import MBOX Data to Outlook
After merging Thunderbird in Gmail,check how you can import MBOX in Outlook.
- Open the file menu and then click on option add an account
- In the dialog box,you will get the following option,click on the first 'manually configure server setting option' or 'additional server type'.
- Next,select the option 'Internet email option' and click on the 'Next' button.
- In the account type option,chose IMAP for the IMAP mail account.
- For the incoming server,type gmail.com and for the outgoing server,type smtp.gmail.com. Click on option 'more setting option' after that.
- In the option Outgoing server,scroll to select my outgoing server and type (SMTP),it requires authentication. Then,in the option,incoming server option,you will be asked to enter port number 993,under the incoming server's port.
- Then,select option 'this server requires an encrypted connection' to set the type of encryption to SSCfor IMAP mail account.
- Enter the value 587 in the outgoing server port. Here select option TLS the type of encryption,and then click on the "Ok" button,then exit.
- Select the option 'Test account setting'. The option is for checking account setting. If you have done everything as instructed above,then you will receive a message 'your account setting is correct'. After receiving these messages,click on the "Next" button.
This is the method how you have configured Gmail in Outlook. After configuring account with Gmail,you would start receiving all Gmail account emails in the Outlook account. The Gmail was merged with Thunderbird first,so Gmail has Thunderbird data,and after merging Gmail with Outlook,you would be able to read Thunderbird data in Outlook account.
If this method seems long and time taking to you,then indeed it is. Not only that but it is also complicated,and there are possibilities of error.
Additionally,experts also say that in this method,there are chances of losing data. The process might seem complicated to first time users.
Take The Help Of Professional Converter Tool To Migrate Data
If you want an easy way to move MBOX data to Outlook,then taking the help of third party software is the best alternative. The Softaken MBOX to PST converter software does this conversion efficiently.
The interface of the software is simple. It is so well-explained that any user having any level of technical knowledge can work with it conveniently. The step by step guide to convert data is here.
- Install Softaken Software for MBOX on your device.
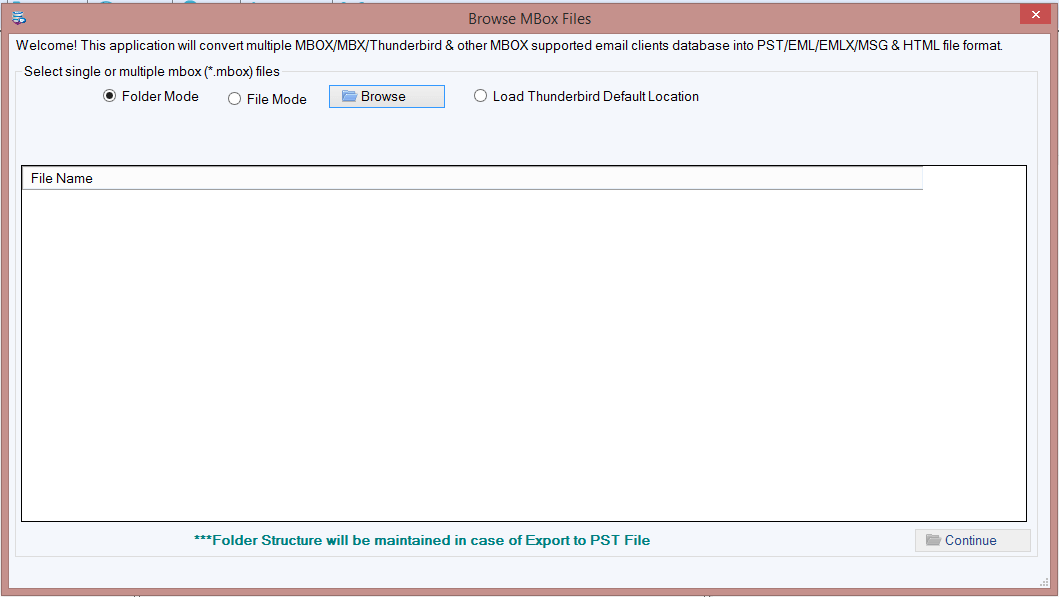
- Upload MBOX file in the software. The wizard gives you two options to upload the file.
- Upload the folder - If you have multiple MBOX files and you have saved it in a folder. Select this option,and upload the folder in the software.
- Upload file - If you MBOX file saved at different locations. Select this option to upload file one by one.
- In-case you are using the Thunderbird email application. And you want to convert Thunderbird email file data to PST format. Then the software has another option for you 'Load thunderbird default location'. Chose the option to upload email application directly.
- If you want to upload the Thunderbird file in the software manually,that option is also available.
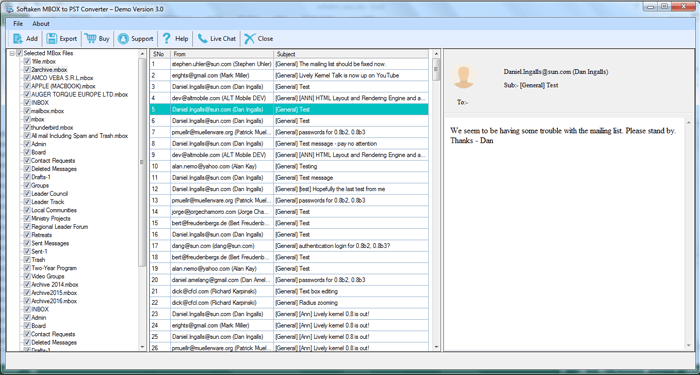
- After you have uploaded all the files,check the preview page. The page will show you all files you have uploaded.
- In the next step,click on the option 'Single PST file' if you want to save all MBOX files data in the single PST file. Chose option 'Multiple PST for each mailbox' if you wish to create a separate PST for each MBOX file.
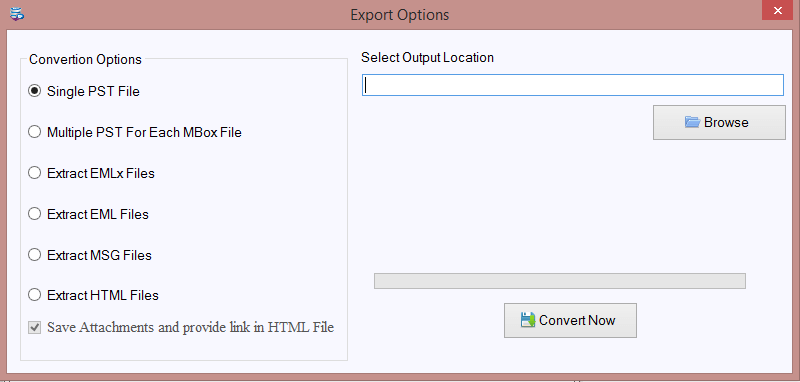
- The software allows you to save data in other formats as well. They are EML,EMLx,MSG,HTML.
- After selecting the file format in which you want to save the data,click on the browse button at the top of the page to freeze a location where you want to save the converted PST file.
- After that,click on 'Convert Now' button.
- The software will convert the entire data of the MBOX file in PST format. And it will get saved at the desired location on your device.
Open MBOX File Data In Outlook
To open MBOX data in Outlook
- Launch the Outlook email application on your device
- Click on the Import button to import PST file you have saved on your device
- Follow the step by step instructions that software shares.
- In the end,you will see a new PST file in your Outlook.
- Click on it to read its content.
There are many reasons why we recommend you to use the third party tool for data conversion,such as:
- The software comes with many options that allow you to convert data specific data as well.
- The original file structure,folder hierarchy,meta details of the email,folders,details saved in folders. Every piece of information will remain intact in the new file as well.
- With MBOX mailbox to Outlook converter tool,you can be sure that no data will be lost or there will be any format change.
- You could convert data in quick time. The software delivers the outcome in a quick time without error.
- Even if there are multiple files to convert,it does the faster conversion.
If you want to check the features of this software,then try its trial version. The demo version of MBOX converter tool is present. Download the same,and check its features by converting data. The demo version of the tool will allow you to do the conversion,but it will allow you saving only ten emails from MBOX file.