Quick Summary
- Understanding how to manage multiple email accounts in Outlook
- Creating account-specific folders for better organization
- Setting up rules to sort emails by accounts
MS Outlook allows you to create multiple email accounts. This is a unique and attractive feature of the email client. In Outlook 2010 and 2013,separate folders are created automatically for different email accounts. Let's discover step by step methods to view or sort email messages as per different accounts.
Method 1:Creating Account-Specific Folders
The flexibility of Outlook to create multiple accounts needs to create multiple folders to organize the data. You can create a new folder for each account by following a few simple steps.
- Go to the Toolstab if using Outlook 2007 and then Account Settings.Users of Outlook 2010/2013 click the File Taband then click Account Settings.
- Now choose POP3 account that you wish to re-configure
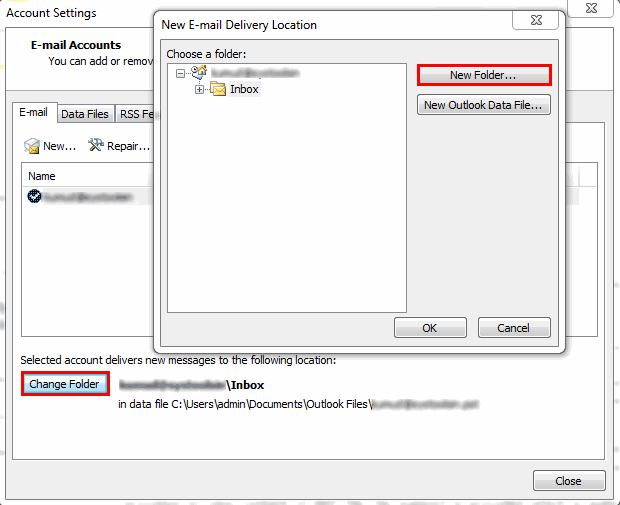
- Click the tab 'Change Folder'
- You can either create a new folder or choose an existed one where you would like to download POP3 account mails.
- Finally click Ok button.Once you follow the procedures,your Outlook will install the mails of the particular account to your directed folder.
Method 2:Creating a Rule
MS Outlook allows its users to create rules which can change the flow of email and its arrival point as defined by the use. Let's follow the steps.
- Choose Inboxfrom the Outlook app
- Choose Rules & Alertsfrom the Toolsmenu in Outlook 2003 and 2007. But for versions like 2010 and 2013,go to the 'File' menu and then select 'Manage Rules & Alerts' option from the Account information section.
- Now choose New Ruleoption featuring on Email Rules
- In the version 2003 and 2007,you can select Check messages when they arriveand in 2010 and 2013,select Apple Rule on Messages I Receive. Now,click on Next.
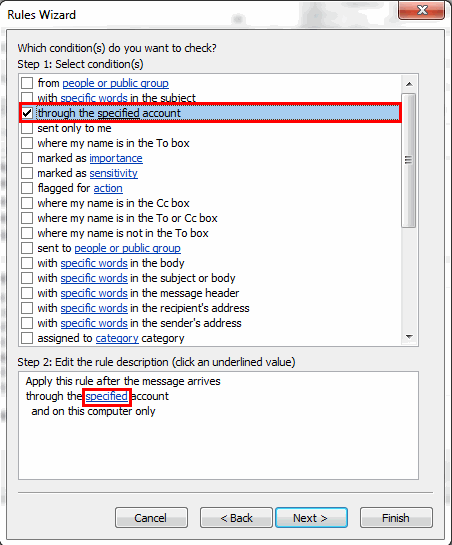
- Now choose Through the specified accountoption in Select condition section.
- In the bottom pane click the link Specified
- As you click the link,a new window will open featuring menu of accounts.
- From the drop down menu,select your suitable account and then Okand thenNext
- Close Manage All Viewspop-up and get back to the mail window but make sure all changes are saved successfully
- Now provide the Specified Folderlink featuring in the bottom pane. Now locate the specific folder in which you want to install all mails of the particular account. You have freedom to save data in either a new or already existed folder.
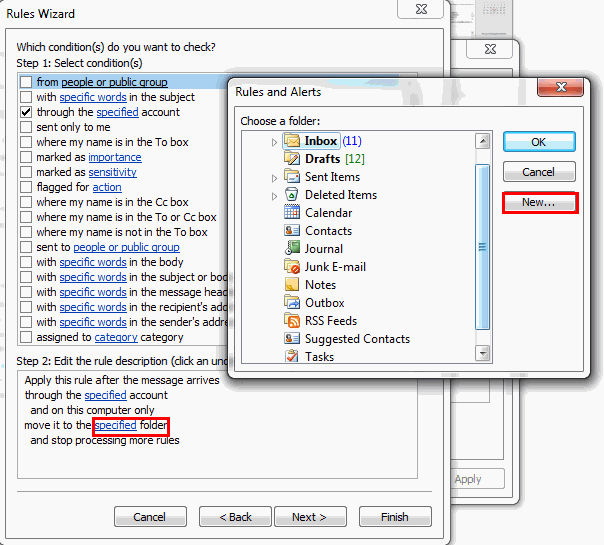
Now click Nextand againNextand give a unique name to this rule.
After that mark the option 'Run this rule now on message already in inbox' that will move the existed messages of that particular account to your specified folder. Make sure the option is now active for this click Turn on this ruleand Finishbutton and Okat last.
Conclusion
All the above methods can be used to view emails conveniently. The method 'Create your own rules' is very useful. Choose any of these methods that you find easy and useful.